# The "Chat" Tool
Keywords: chat tool, logging, communication, chat templates, question templates, question sets, questioning techniques, professional support, format-specific question catalog
The Chat Tool is used for written communication between session participants and for additional documentation of important statements. It enables a structured exchange that is automatically logged.
Expand Table of Contents
# Basics & Access
- Adding: Click the chat button in the sidebar. You can add as many separate chats as needed to a session.
- Integrated Chat: Most graphical tools (e.g., Whiteboard) feature an integrated chat area. This provides the exact same functionality as the standalone Chat tool.
- Saving: All content is saved automatically and remains available for logging and review.
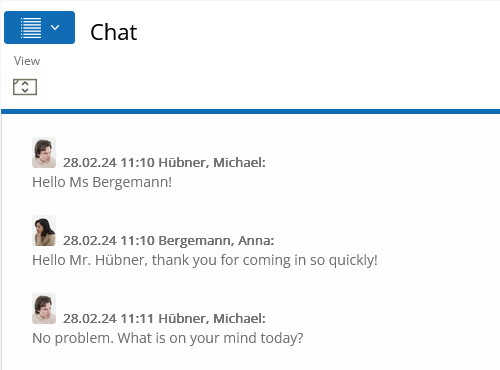
Figure: The Chat tool in the workspace view
# Composing and Sending Messages
The input field for your messages is located below the chat history.
- send Sending: Click the send button or press the Enter key.
- Line Breaks: To write multi-line text, use the keyboard shortcut Shift + Enter.
- History: Each message is displayed with sender identification (name/photo), a timestamp, and, if applicable, a category icon. If your messages do not show a portrait yet, go to My Account outside of the session to upload a profile picture.
# Question Templates (Expert Feature)
contact_support Select Question from Templates
Licensees (Moderators/Coaches) have an additional button to access professional questions from a predefined catalog.
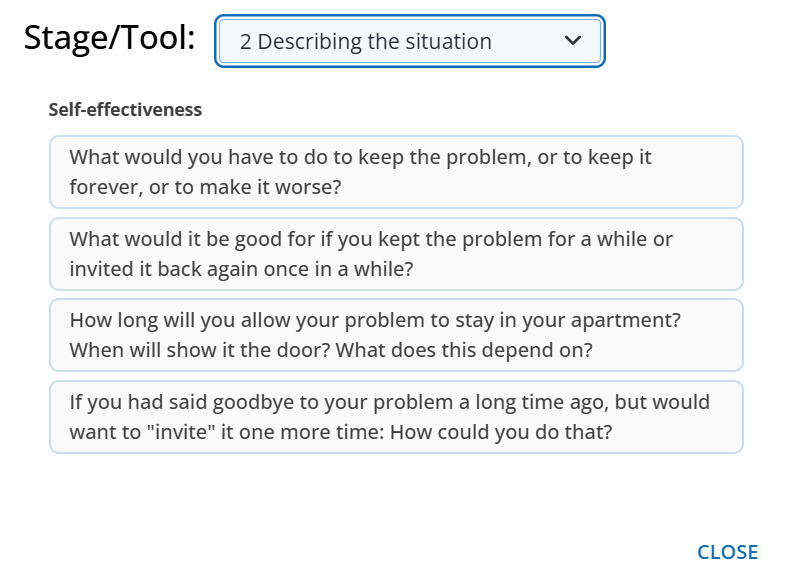
Figure: Dialog for selecting question templates
Functions of the Template Dialog:
- Context Sensitivity: The selection automatically adjusts to the session format (e.g., Business Coaching) and the current session phase (e.g., Goal Setting).
- Flexibility: You can manually change the phase within the dialog to access other template sets.
- Address Toggle: Switch between Formal (Sie) / Informal (Du) to automatically adapt the templates to the preferred tone for your target group.
- Preview & Editing: Clicking a question transfers it to the input field. You can then finalize the text before sending it.
- Customization: With the appropriate license, custom text templates can be pre-configured via the Administration settings.
- Inspiration: The templates are designed to be inspiring and can serve as a starting point for your own ideas, even if the result isn't ultimately posted in the chat history.
- Tool Reference: Selecting the "Tool" category provides specific suggestions from the templates on how to effectively integrate the current tool into the conversation for maximum benefit.
# Sender Information & Categorization

Figure: Categorizing the message
By clicking the triangle next to the sender icon, you can categorize your message. This significantly simplifies the later review of the protocol:
| Category | Meaning |
|---|---|
| Name / Portrait | Standard message under your own name. |
| Minutes | Marks the message as documentation of a statement made by someone else. |
| Information | Graphically highlights important facts or notes. |
| Decision | Marks jointly reached decisions for later evaluation. |
# Editing Messages
You can correct your own chat messages even after they have been sent:
- Move your mouse over the message in question (Hover).
- Click the icon edit (Edit own text message).
- After the correction, a pencil symbol edit_note appears next to the text, transparently indicating the change to all participants.