# Account Setup
Keywords: Password, Change password, Set password, Ready to go, Your new digital workspace, Verify email address, Verification code, Verification link, Confirmation code, Security question, Password reminder, Forgot password# Getting Started: Setting Up Your Account
Welcome! To help you get started as quickly as possible, we have made the setup process as straightforward as possible. Depending on how you joined us, the process differs slightly.
Expand Table of Contents
# person_search Which User Type are You?
Before we begin, let’s determine your user type to find the correct path for you:
| Type | Description | |
|---|---|---|
| license | License Holders | You have an existing subscription (purchase/trial account) and therefore own your own license. |
| person_2 | Contacts | You do not have your own subscription, but have received a contact request via email (e.g., from colleagues, business partners, a coach, or a consultant). |
| trail_length_short | Guests | You have been invited to participate in an ad-hoc session. By following the session link, you can enter the waiting room as a guest—no account or extra login required. There is no account setup for you to complete. |
# license Workflow for License Holders
After your user account is created, you will automatically receive your login credentials and setup instructions at the email address provided. You are then ready to enter your new digital workspace.
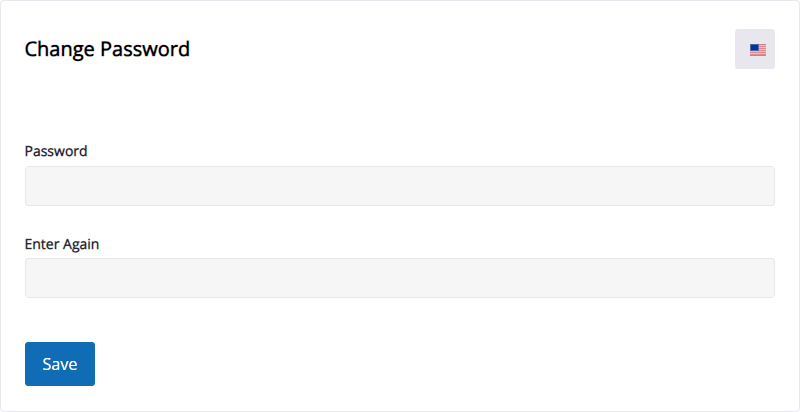
# Set Password
In your welcome email, you will find a button labeled "Set password now".
- Click the button to open the "Change password" dialog in your browser.
- Enter your desired password.
- Re-enter the password in the second field to ensure there are no typos.
Email Confirmation
Following this, you will receive a confirmation email titled "Your password has been changed," just as you would with any subsequent password update.
# Terms of Use
After setting your password, you must agree to the current Terms of Use. Once this step is completed, your account is fully activated and ready for use.
# person_2 Workflow for Contacts
If you created an account yourself via a contact request, the focus is on verifying your identity.
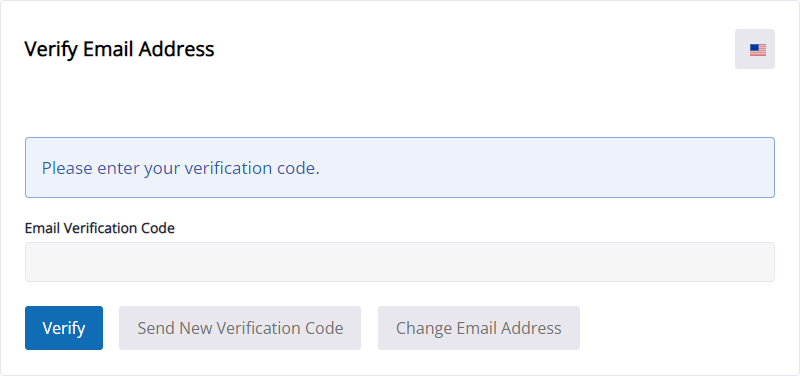
# Verify Email Address
After your first login, the "Verify email address" dialog appears automatically.
- Check your inbox: Look for the activation email (please also check your Spam folder).
- Activation: Click "Activate account now" in the email. This will automatically fill the "Email verification code" in your browser.
- Verify: Click Verify in the browser to submit the confirmation code.
Didn't receive an email?
If the email does not arrive, you have two options within the dialog box:
- "Send new verification code": Requests a new code.
- "Change email address": If you made a typo during registration, you can correct the email address here and request the code again.
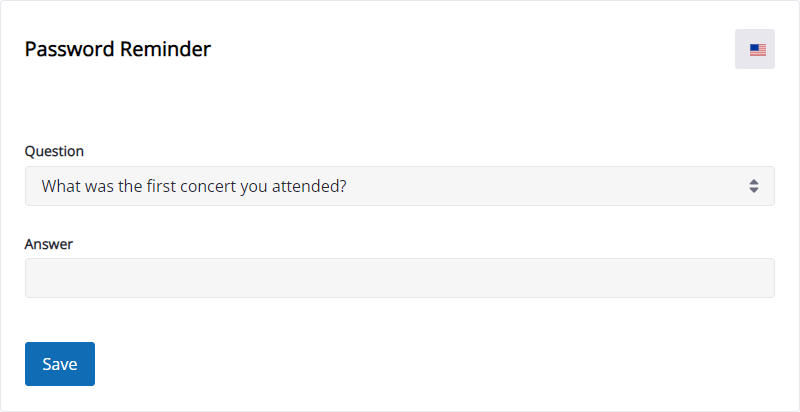
# For Everyone: Password Reminder
Safety first! To ensure you can reset your password independently at any time if you happen to forget it, we use an additional security measure.
Set Security Question: As part of the initial setup, you will define a personal security question.
- Choose a question that only you know the answer to.
- Important: To reset your password later via the "Forgot password" function, this question must be answered exactly (character-perfect).
Important Note on Password Reminders
For security reasons, the answer to your password reminder question should not be easy for outsiders to guess or research. Choose a question that ideally only you can answer.
Security Option: If you do not wish to use the self-reset function, enter a long, unguessable string of characters as the answer. Please note: In this case, you will not be able to reset your password yourself if you lose it, unless you have stored the answer elsewhere, such as in a password manager.
Flexibility: You can view or change your password reminder at any time later in the "My Account / Password" section.
Congratulations! Once you have completed these steps, your account is fully set up.
# Do you need further assistance?
If you encounter issues during login or receive error messages regarding your credentials, you will find detailed support for the most common causes in our Knowledge Base.
Helpful Links & FAQ
You can find further support in our dedicated FAQ articles:
- question_exchange FAQ: Problems with email address or password
- question_exchange FAQ: Problems with the verification code