# Contacts and Contact Requests
Keywords: Invite contacts, contact request, coachee account, client account, invite customers, customer account, account management, client management, my contactsThe platform enables secure and structured networking with your partners and clients. While guest access in ad-hoc sessions is ideal for quick, one-off meetings, Contacts form the foundation for deeper, long-term collaboration and asynchronous work modes.
Expand Table of Contents
# info Key Information at a Glance
Before you begin, it helps to understand the two main access methods:
- Guest Access (Ad-hoc): No account required for participants. Ideal for initial consultations or one-time meetings.
- Contact Account: Requires a Contact Request. This provides the recipient with their own (free) account, permanent access to assigned sessions, and the ability to work independently.
# contact_page Managing My Contacts
You can find your contact center in the menu under Administration > My Contacts. This is where you maintain an overview of your network.
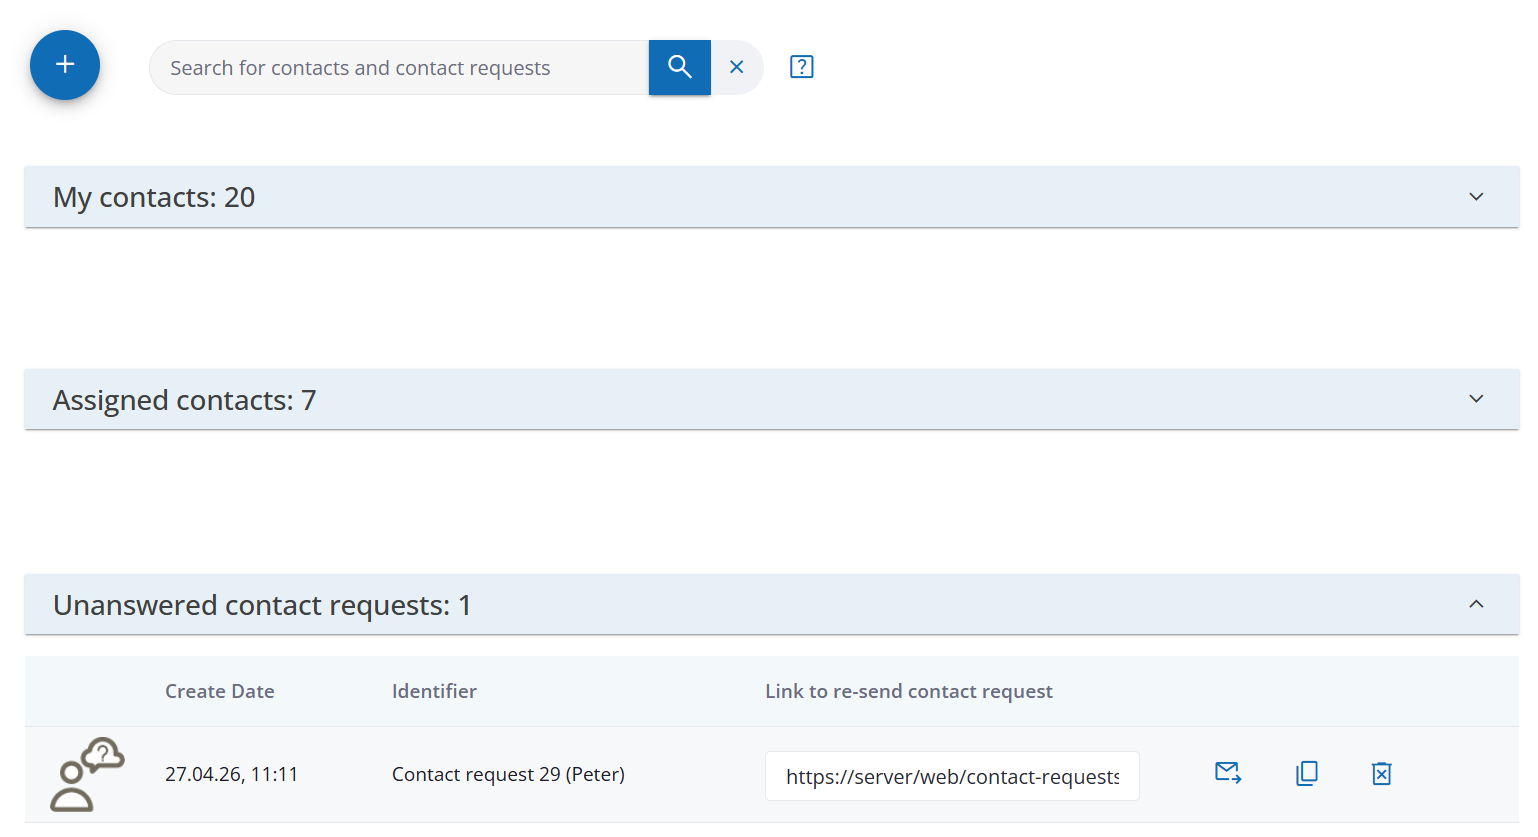
# Structure of the Contact List
The list is divided into three clear categories, which you can expand or collapse by clicking the heading:
- My Contacts: Individuals with whom you are already successfully connected.
- Assigned Contacts: Individuals administratively assigned to you via your organization.
- Open Contact Requests: Invitations that have been sent but are still awaiting confirmation.
# search Search & Maintenance
Use the search field to filter your list by first name, last name, or email address. If you wish to end a connection, use the "Delete contact from contact list" button.
# add_circle Adding New Contacts
To establish a new connection, use the Contact Request process. This ensures maximum data security and guarantees that networking is voluntary for both parties.
# Step 1: Preparing the Request
Click on add_circle New Contact Request. In the following window, assign a Label (e.g., initials or a project code).

Note on Data Privacy: This label is temporarily visible in various places (e.g., in the invitation email or participant lists). We recommend using initials if you do not yet have explicit consent to store full personal data.
# Step 2: Sending the Invitation
After saving, the system generates an individual link. This will be displayed to you immediately:
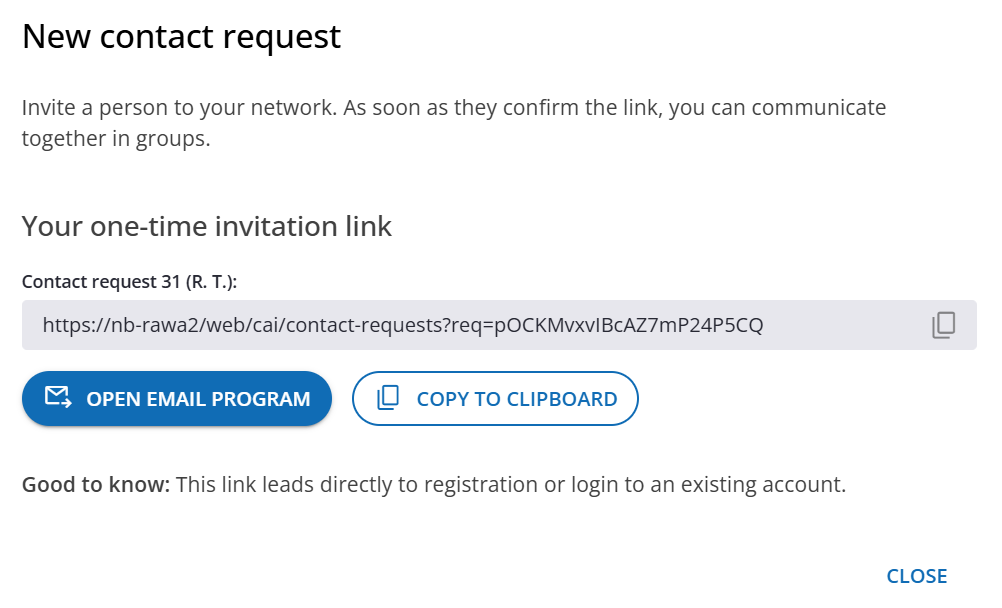
You have two ways to transmit this link:
- outgoing_mail Open Email Program: Opens your default email application with a pre-formulated text.
- content_copy Copy Link: Copies the link to your clipboard so you can send it via your preferred channel (e.g., using your own email template).
# visibility The Recipient's Perspective
The process is designed to be highly convenient for your partners and does not disclose any information regarding their license or account status beforehand (crucial for data privacy).
Open Link: The recipient follows the link and sees the following view, where they can decide whether to accept the contact request:
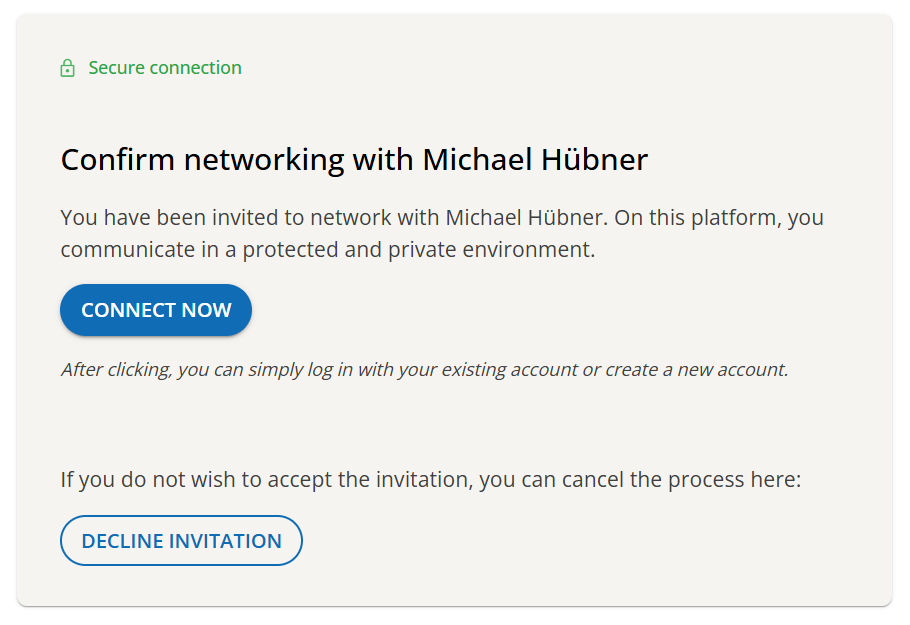 Figure 4: Recipient's view for accepting the request.
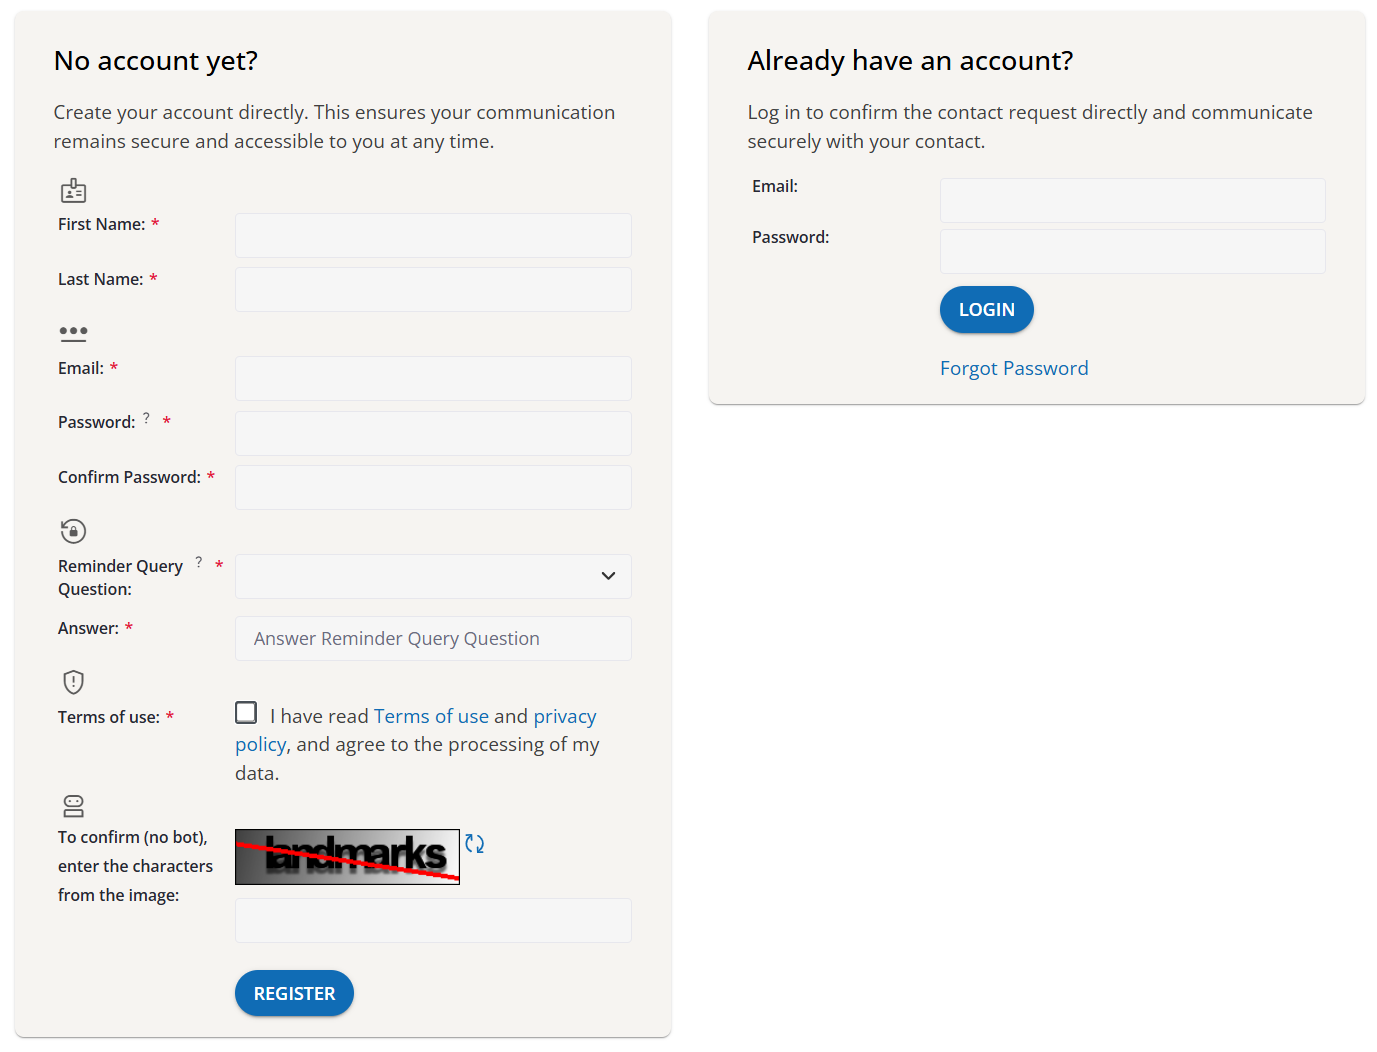
Login or Registration: The person can then either log in to an existing account or register a new contact account for free.
Your Advantage: You do not need to know whether the person is already registered or which email address they prefer to use for their login.
# notifications_active Connection Status
As soon as the request is accepted, you will be notified automatically:
- Via email confirmation.
- Via the notifications at the top right, next to your profile picture.
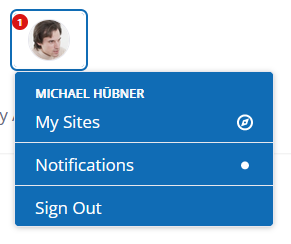
- The person will immediately appear in your list under "My Contacts".
# Further Information
Next Steps
Once you have issued the contact request (even before it is accepted), you can assign this contact (or the request itself) to a group to start joint sessions: